How to fill out the Client Profile and Auto-Fill a Form
General Instructions.
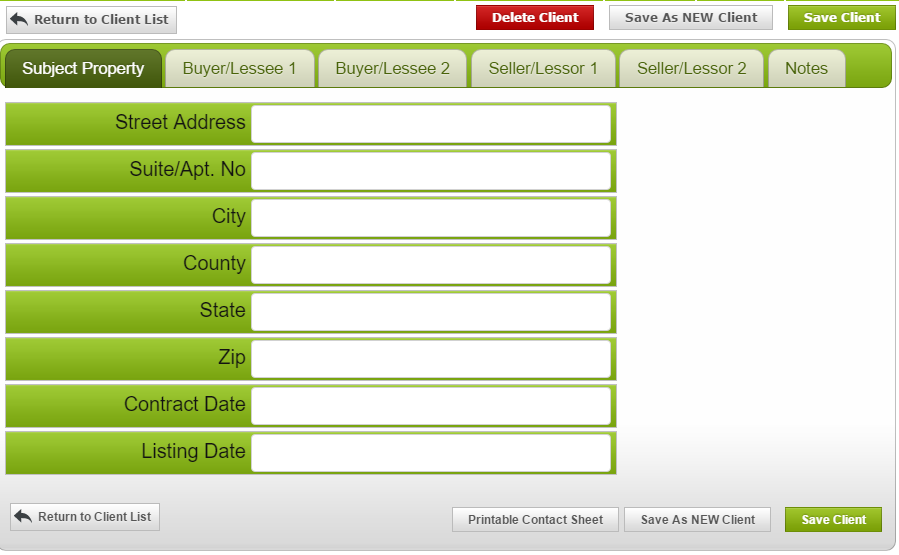
1. Go to Manage Clients the Add New Client button.
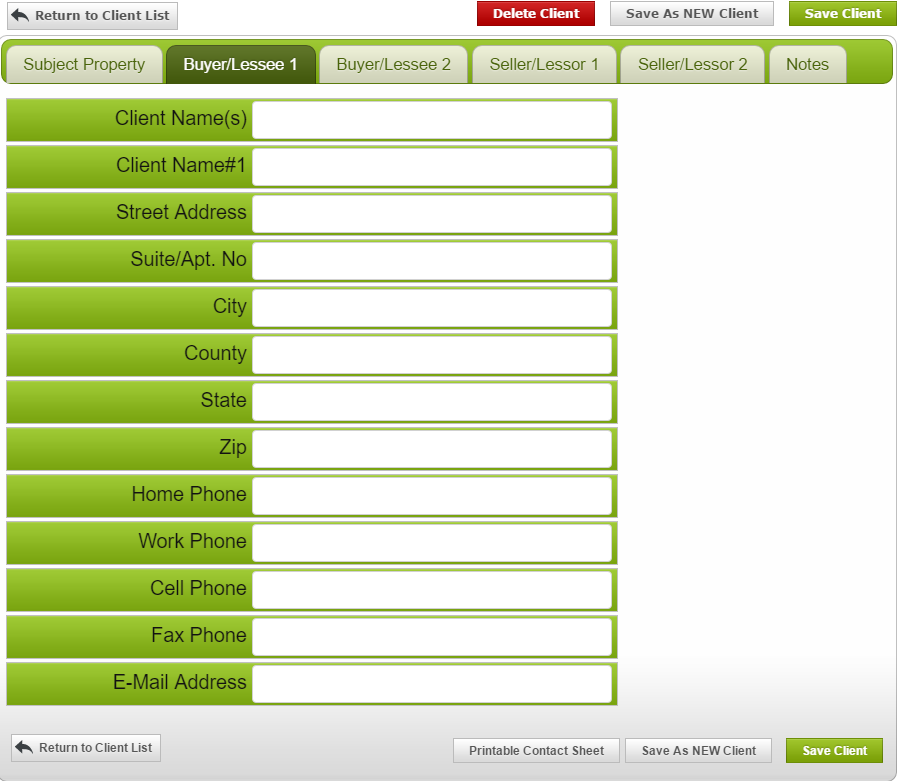
2. Starting with the first tab, fill out all the information requested (and that you currently have). 
3. Click the Save Client button. Go to the next tab.
4. Fill in the next tab, and continue until all the information on all tabs is filled in. Click Save Client before moving to the next tab.
NOTE: There are some places where both clients names appear in a single field (John and Mary Doe) and others, such as signature lines, there each Client is entered individually (John Doe in one field, Mary Doe in another).
5. When you are done, click Save Client and Return to Client List.
For Property Managers with Multiple Unit buildings:
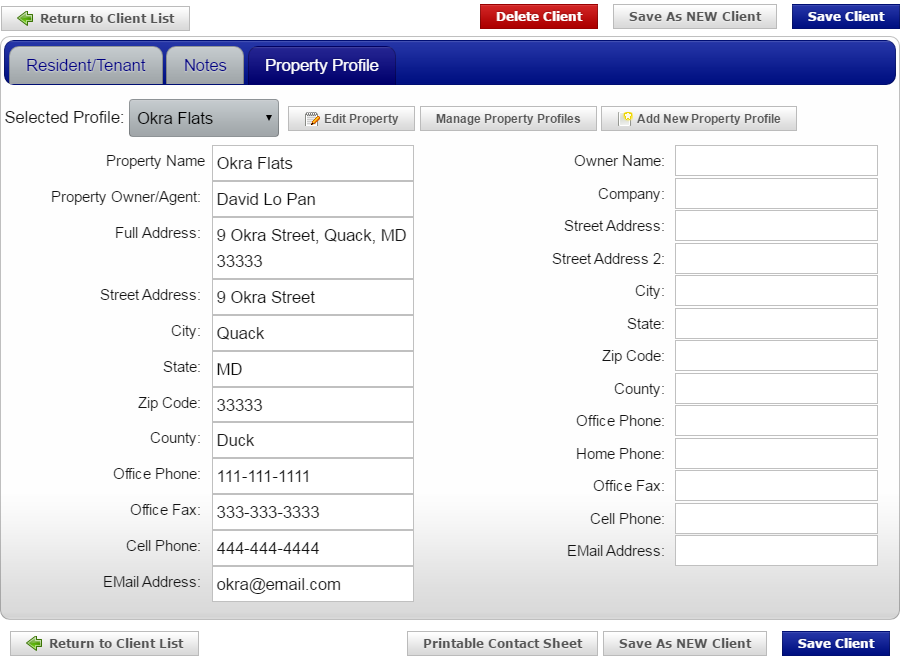
The Property Profile tab has a feature where you only have to fill in the information once.
1. After you fill out the Unit and Residents for the first unit of the building, under the Property Profile tab, enter a name for the profile, such as the address or the building name.
2. Fill out the information. The Owner/Agent field on this tab is used to fill in the forms.
NOTE: The Full Address and the broken out address is for the address of the Property, not the address of the Owner/Agent.
3. When you fill out the Unit and Residents for the second unit, you will only have to select the Profile name from the drop down menu, and the information will be filled in automatically.
Auto-Filling a Form
Once you have created a Client Profile, you can use it to auto-fill a form.
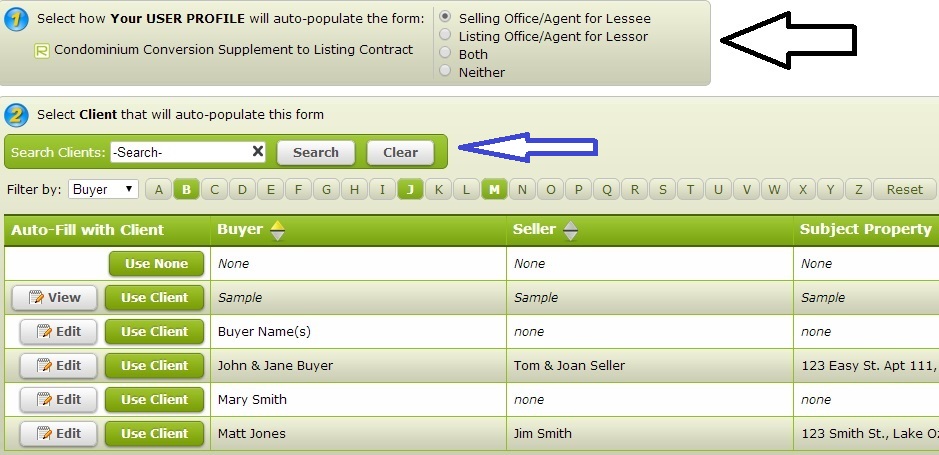
1. On the Forms List, find the form or package you want to auto-fill.
2. Click the Auto-fill button.
3. (REAL ESTATE USERS ONLY): Select whether you are the Selling Agent, Listing Agent, Both, or Neither.
4. Find the Client you wish to use.
You can used the search list by selecting the field (Buyer, Seller, etc.) you want to search by and either:
Typing in a name or word from that field or
Clicking on the first letter of the name (If the letter is highlighted, there is a name in that field starting with it.)
5. Once you have found the client you want, click the Use Client button.