How to Digitally Sign Forms using Settleware
Selecting the Client
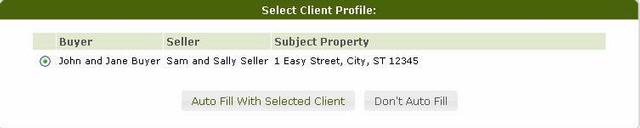
1. To auto fill the Signature Request with the information from the Client Profile, select the client and click the Auto Fill with Selected Client button.
2. If you want to enter the information manually, click the Don't Auto Fill.
Signature Request
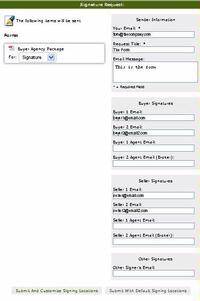
1. Select if the document is meant for signature or as a reference.
2. The "Your Email" field is automatically filled in from the email field in the User Profile. If it is incorrect or you want to be notified at a different email address, manually change the entry. (If your email address is incorrect or out of date, please update your User Profile.)
3. Enter a Request Title (Required).
4. Enter a note to the recipient if one is needed.
NOTE: At least 1 recipient email address is required.
5. Review the auto filled email address and correct as necessary. (If the auto filled email address is incorrect, please remember to correct the Client Profile.)
6. Enter any additional email addresses.
7. To send the form with the default signature locations, click on the Submit with Default Signing Locations button. The recipients will be send an email with a link to the forms where they can enter their signatures.
8. To edit the default signature locations or to add locations to a document that doesn't have default ones, click on the Submit and Customize Signing Locations button. No email will be sent until you manually invite the signers.
9. If the document is set up as a Reference, the email sent will contain a link to the document so the recipient can review and print it.
Click any Submit button will bring up one of the Signature Status pages.
Signature Status
Depending on how the Signature Request is set up, there will be one of 3 different Signature Status pages.

1. Reference: the page will have a note saying there are no documents for signature and 3 buttons: Advanced Options; View Signature Requests; and Return to Saved Forms.

2. Submit with Default Signing Locations:
a. The date of the Request;
b. Whether the documents have been signed or not;
c. If the documents are password protected;
d. A link to Add or Edit signing locations;
e. A list of recipients that have not signed;
f. Three buttons: Advanced Options; View Signature Requests; and Return to Saved Forms.
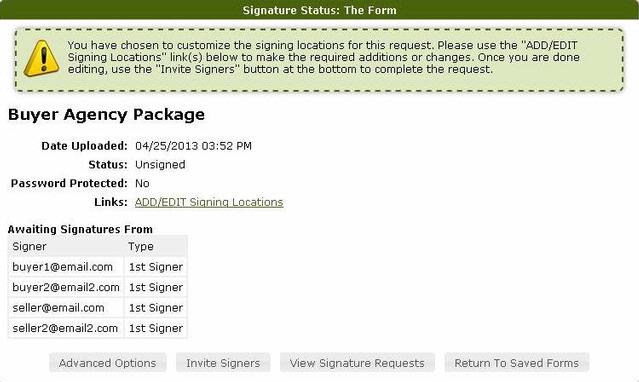
3. Submit and Customize Signing Locations:
a. A note with instructions;
b. The date of the Request;
c. Whether the documents have been signed or not;
d. If the documents are password protected;
e. A link to Add or Edit signing locations;
f. A list of recipients that have not signed;
g. Four buttons: Advanced Options; Invite Signees; View Signature Requests; and Return to Saved Forms.
ADD/EDIT Signing Locations
To add signatures to the document follow these instructions:
How to customize the signature locations in Settleware
After you click Exit you will be returned to the Signature Status page.
Invite Signers
1. Clicking on this button after adding signing locations. An email will be sent to the signers with a link to the form for them to enter their signatures.
NOTE: If documents are sent without any signature blocks (either because there were no default blocks or none were added) a generic signature block will be place at the bottom of the last page.
View Signture Requests

Clicking this button will bring up a list of all signature quests. You can also bring up this list from the My Profile tab by selecting Signature Requests.
1. Clicking View Status will bring up the Signature Status page for the sepified Signature Request.
Return to Saved Forms
Clicking this button will return you to the Saved Forms and Documents page.